
 The second part of our Cunning Plan based around this new Framework laptop was to “Show how you can run Linux inside Windows usefully (for small values of ‘usefully’)”.
The geek joke in parentheses was a hint that you wouldn’t be getting a GUI, and so be unable to run any apps of the kind you might be expecting. But it was a cheap geek joke in this context, because, for those prepared to invest some time in learning the craft, the Linux command line is immensely powerful.
But not for everybody—yes, I get that. So let me introduce you to a full-blown Linux desktop running inside Windows 10 but in no way affecting any kind of existing Windows 10 activities you might have going on.
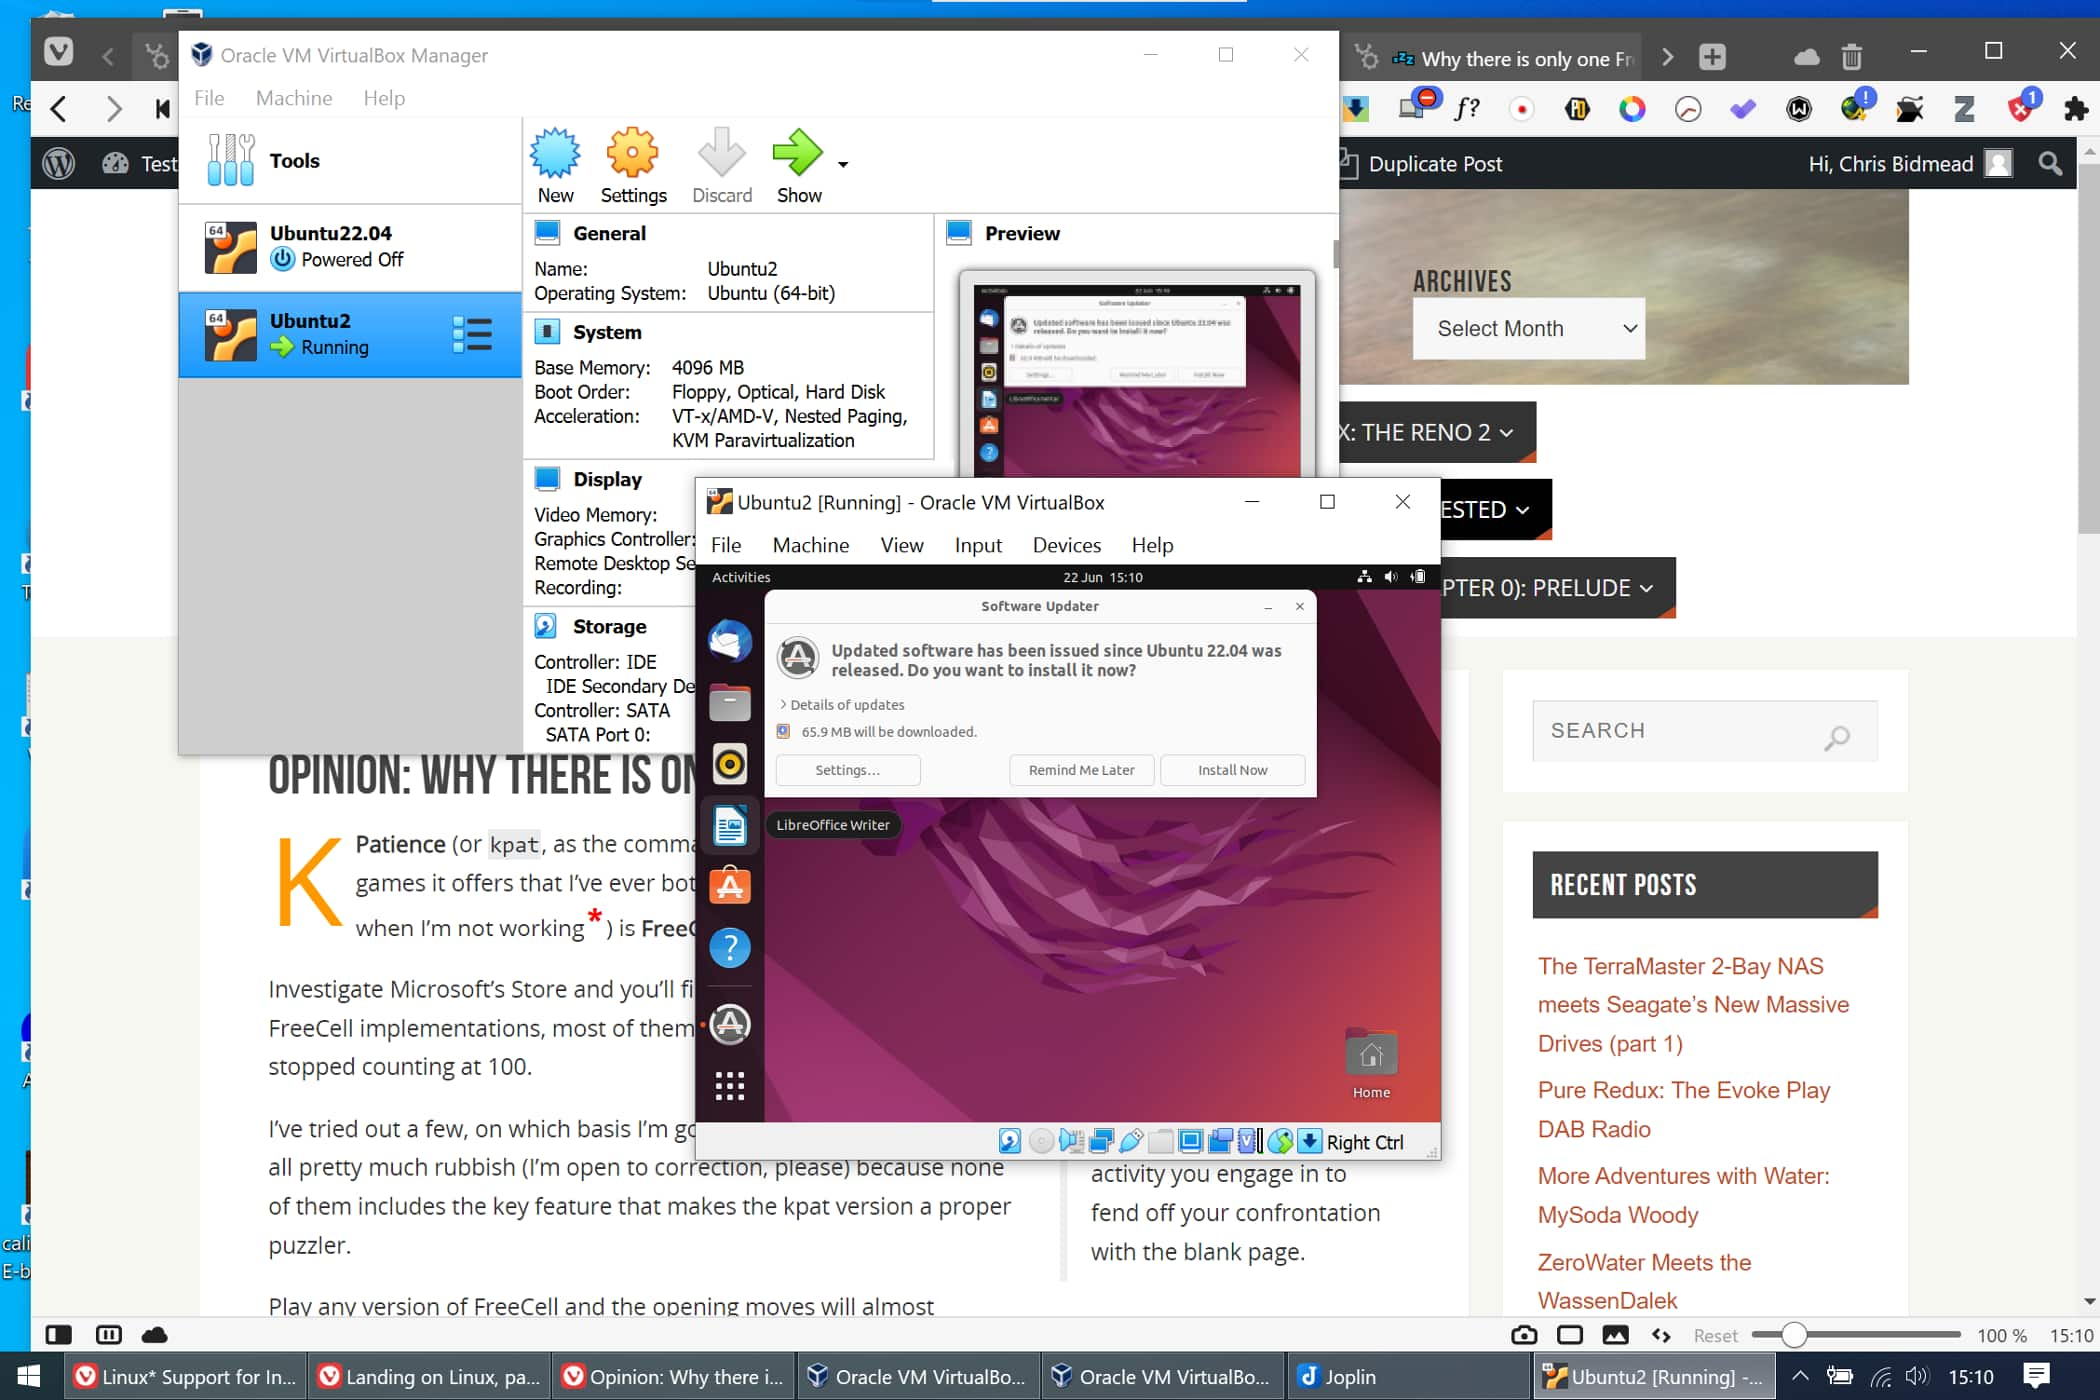
I’d anticipated that writing up this section of the Cunning Plan would be hard work and a lot of verbiage. But it turns out I don’t need to take up space here doing that as the whole procedure is very beautifully and clearly explained and illustrated on the Ubuntu Web site. I followed the process listed there step-by-step (with some caveats—see below) and in a few minutes achieved this:
Ubuntu 22.04 running fluently inside VirtualBox on Windows 10.
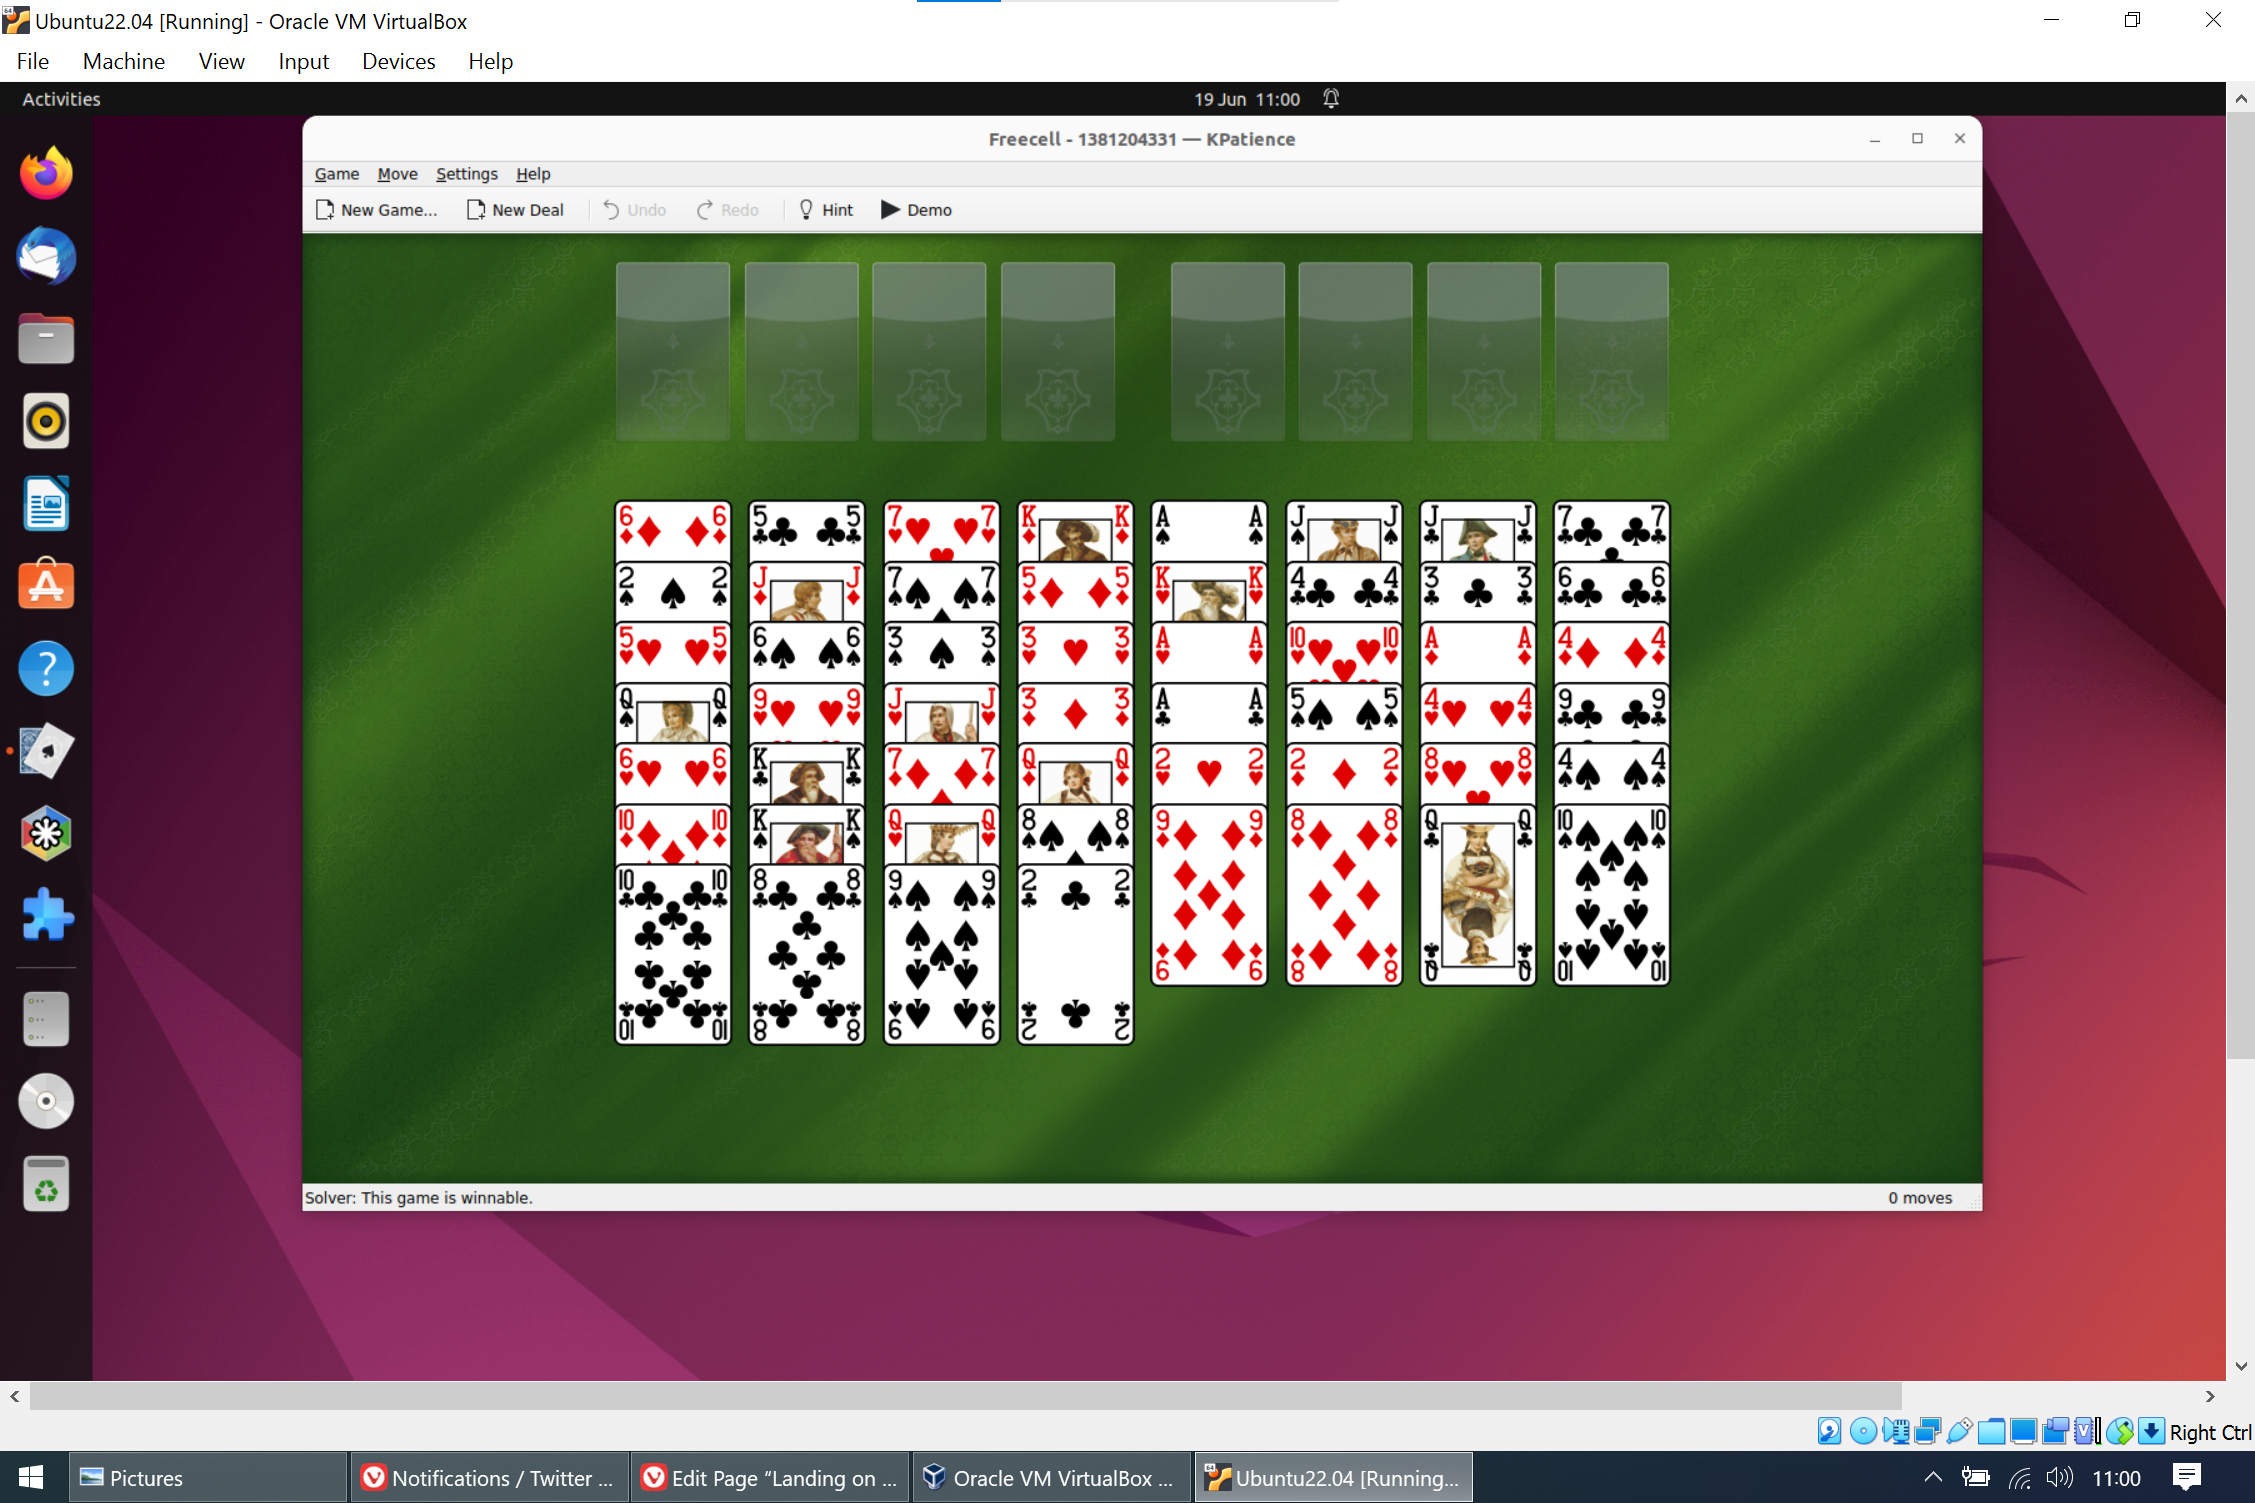
So instead of the space all that would have taken up—I really couldn’t have done it better—I’m going to indulge myself with a brief diversion into the Great FreeCell Question I touched on in part 4. And perhaps you’ll understand why KPatience would be the first application I’d want to bring to this fresh Virtualbox installation of Ubuntu.
Sorry, I’m forgetting myself. We aren’t here to play games, so I’ve moved that diversion to the Floating Ideas Untested section so we can focus on business.
Tidying Up (the Caveats)
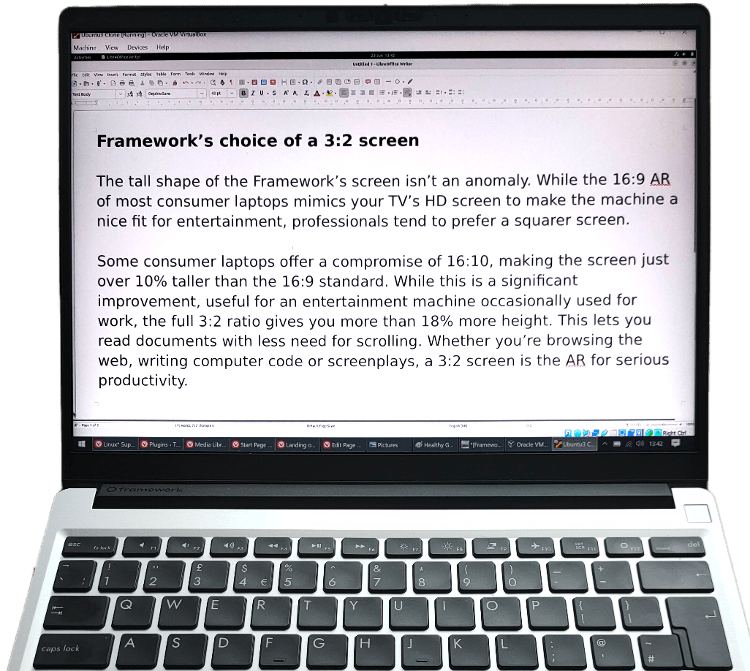
There’s one tidy-up I found I needed to do with this virtual Ubuntu installation. Getting Ubuntu’s virtual screen to fit the physical screen of the Framework with its slightly unusual 3:2 aspect ratio (AR) took a little fiddling.
As the Ubuntu Guide points out, when you initially run the installed virtual machine, Ubuntu shows up as a disappointingly tiny 800×600 resolution window in the middle of your screen. The Guide suggests shutting down and changing VirtualBox’s graphic controller setting to VBoxSVGA. This opens up a choice of available resolutions from the virtual monitor menu (once you’ve settled on one, don’t forget to change the graphics controller setting back to VMSVGS).
But none of these newly available settings was a particularly good fit for the Framework’s screen.
I tested this VirtualBox installation by creating several Ubuntu virtual machines and came to the conclusion that the advice about changing the graphics controller to VBoxSVGA and then back again is a bit of a red herring.
The procedure I developed was to use the default VMSGVA virtual controller all the way through, keeping to the 800×600 screen resolution until after I’d installed the Guest Additions. So now we have a perfectly formed, tiny Ubuntu installation.
The small reddish window in the centre is the new 800×600 Ubuntu virtual machine installation. Immediately behind it, echoing the display, is the VirtualBox control dialogue, running in Windows 10 Pro, like everything else you see on the screen.
Fitting the Virtual Machine to the Screen.
If you don’t mind running the initial part of the virtual machine installation inside a miniature 800×600 window, there’s a very straightforward way of getting the eventual fit right.
But it’s important to install the Guest Additions before the final step screen sizing. To do this, complete the full installation inside the mini-window, then simply pull down the VirtualBox menu section labelled “Devices” and run the “Insert Guest Additions CD image…” option.
Well, it’s supposed to work like that. You can try this but if this injection fails you may not know about it. So it’s worth understanding how to check whether Guest Additions have been successfully installed.
The on the Ubuntu desktop background delivers the option to open the Ubuntu terminal. Alternatively, while inside the Ubuntu window you can hit the Windows key and type “Terminal” into the Search Box.
Type this into the terminal:
lsmod | grep vbox
We’re looking for the modules that the Guest Additions will have installed. lsmod is terse Unix-speak for “list modules” and on its own will produce a list of the (very many) modules swimming about inside the belly of Ubuntu.
grep is a filter and the vertical bar character immediately in front of it is a “pipe”, one of many ingenious Unix inventions. The pipe directs the output from one operation into another operation, so instead of being shown the entire module list that lsmod sprays out you’ll only see the output from the grep filter, which here is just looking for strings containing “vbox”.
If Guest Additions has properly done its stuff, you should be seeing this:

If you just get a single line mentioning vbox, Guest Additions won’t have been installed. In this case, simply look for the CD symbol in the column of applications on the left hand side of the Ubuntu screen. Click on this and Ubuntu will open its equivalent of File Explorer showing the contents of this (virtual) CD. You should find an item there labelled autorun.sh. The suffix means that it’s a “shell script” which you can run as a program but also read as plain text to see what it does.
In fact, this might be a good time to open it as a text file (Context Menu/Open with Text Editor) to glance it over. If you’re unfamiliar with Unix and its associated operating systems like Linux it may not mean much to you at this stage. But you’ll recognise:
# This file is part of VirtualBox Open Source Edition (OSE), as
# available from http://www.virtualbox.org. This file is free software;
# you can redistribute it and/or modify it under the terms of the GNU
# General Public License (GPL) as published by the Free Software
# Foundation, in version 2 as it comes in the "COPYING" file of the
# VirtualBox OSE distribution. VirtualBox OSE is distributed in the
# hope that it will be useful, but WITHOUT ANY WARRANTY of any kind.
The hash marks indicate that these lines are all comments and have no effect on the running of the program. And, yes, as it says, you can modify any or all of this script. But please don’t.
Just close the file and select “Run as a Program” from the Context Menu. Then do the Guest Additions check again, as above.
At this stage we’re still running our miniature (put perfectly formed) copy of Ubuntu in a tiny 800×600 window. There’s an Oracle menu bar above and outside the Ubuntu installation with an item marked “View”. If you pull this down, you’ll find an option called “Auto-resize Guest Display”.
Sounds promising? You’ll find at this stage it does nothing. What we’re going to do next is to resize Ubuntu from within. The context menu on that (virtual) Ubuntu desktop offers, at the bottom, Display Settings. Open this and you’ll see confirmation that the current resolution is 800×600. And other resolutions are available.
You may be lucky, but it turns out that none of the resolutions on offer is a good fit for my Framework laptop’s 3:2 AR. Never mind. I go for, 2560×1600, not the highest resolution on offer but a reasonable choice with its 16:10 ratio. I apply it, and…
Blackness…
It took me a while to discover the obvious problem: shortage of video memory. When I set up the virtual machine I accepted all the defaults, including the video memory default of 16MB. The just over four million pixels of my 2560×1600 Ubuntu screen would not be able to do anything useful with 16MB of video memory. As the black screen was there to tell me.
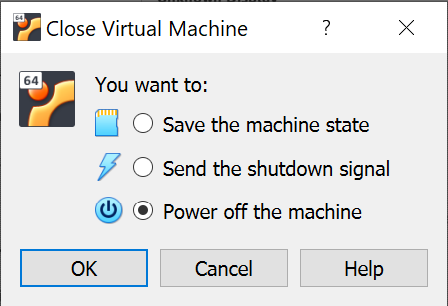 I closed down the virtual machine, being careful to use the “Power off” option. “Save the machine state” can be very useful—it hibernates the virtual machine so when you wind it up again everything you were working on is open and ready for you. But in this case I wanted a fresh start.
Then I returned to Oracle’s Settings for this virtual machine and on the Display tab whacked the memory up to the full 128MB, which is as high as it goes.
When I reopened the Ubuntu virtual machine I was, of course, looking at the same small 800×600 window. But now, when I bunged up the resolution to 2560×1600, the screen was filled, not with blackness, but with a genuinely enlarged Ubuntu desktop.
Job done? Not quite. My virtual window was now too big for the physical screen and there were slider bars on the right and at the bottom to remind me of this. I could see the whole screen but only by shifting it under the physical window.
Now is the time to return to that View/Auto-resize Guest Display option being offered by the Oracle envelope. Magically, the slider bars disappear and the Ubuntu window shrinks exactly to fit the Framework’s physical screen.
Next Time
So now I have a Windows 10 machine that can run a complete Ubuntu installation inside itself. Good enough for now. But we can venture further. The next stage in the Cunning Plan is to create a machine that can run either Windows or Ubuntu, a decision to be taken at boot time. The difference will be that now when I power up into Ubuntu it will be “running on the bare metal”, that is to say, using all the physical resources of the Framework laptop directly, rather than accessing them through a virtual mechanism.
I don’t expect to see very much in the way of a performance change with a modern and relatively powerful machine like this. But Ubuntu on older machines would certainly benefit from being able to communicate directly with the hardware.
In part 8 we’ll see how that goes.
Chris Bidmead 25-Jul-22