
 I now have something really usable. And if you’ve followed along with me so far, so do you. This Framework laptop that I’m using to create and administer Tested Technology (and practically everything else, for that matter) happily dual-boots between Microsoft Windows 10 and the 22.04 version of Ubuntu Linux, Jammy Jellyfish.
Why Windows 10, when the Framework is fully Windows 11-capable? Chiefly because I gather the new version has made it even harder to log in without a Microsoft account, is even fuller of bloat, user-tracking telemetry and advertisements and because—as you already know—I have little use for any version of Windows and it’s only here on this Framework because you might still be needing Windows for some of the things you have to do.
But where has Linux Gone?
I’ve you’ve followed the procedure laid out in part 8 there’s a chance that you may have been unpleasantly surprised to find your machine rebooting into Windows with no sign at all of the Linux you’ve just installed.
There’s no cause for alarm, however—this is just Microsoft Windows doing its autocratic thing. After all, you probably bought the hardware with Windows installed (and so, indirectly, paid Microsoft a handsome licence fee) and Windows has made itself at home here. It owns your computer.
To show it who’s boss, you need to boot into your . You’ve probably been there already, to switch off Secure Boot to enable the Linux installation. On this Framework laptop I need to hit the F2 key at boot time but this may be different on your computer.
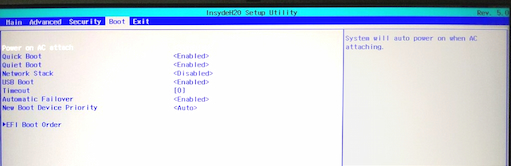
You should find a tab or section in the BIOS devoted to booting. Different BIOSes handle this differently but all of them give you a way to choose the partition you want to boot into. Immediately following my own dual-boot installation, the BIOS was still booting directly into the partition where the Windows Boot Manager was installed.
If you’re a Windows aficionado you may want to keep the BIOS like this and go into Windows to fix up its boot manager to incorporate the new Ubuntu installation. You can find instructions for doing this all over the Web, perhaps starting here.
Getting Grubby
 Richard Stallman, founder of the FSF and the inspiration behind GNU is still insisting that the operating system should be called “GNU/Linux”. He has a point—without GNU and its components like
 grub, Linux would just be an unbootable kernel.
In the 1990s I suggested to Stallman over lunch that GNU didn’t need to blow its own trumpet like this: the value was evident without confusing the established Linux brandname. Richard was livid and huffed off leaving me to pick up the tab.
grub—the acronym stands for Grand Unified Bootloader (an in-joke for physicists). It was developed towards the end of the last century by the Free Software Foundation as part of the GNU suite of utilities that orbit around the Linux kernel.
If you find yourself—as Richard Stallman did in the ’80s and ’90s—engaged in recoding from scratch an entire Unix operating system lookalike with the intent of making it freely available and modifiable across the whole IT community, you need a legal fig-leaf.
GNU is a recursive acronym that stands for “GNU is Not Unix”, the strident assertion made necessary by the fact that Unix—although it began in the late ’60s as a spirited —had by then become an proprietary trademark nourished by expensive licencing.
Today’s grub bootloader is a complete rewrite of the original code developed in the late ’90s. I’d never thought much about it: you boot your Linux machine, some tiny lines of text turn up in the top left hand corner of your screen, you hit the Return key and Linux blooms. But the dual-boot had me investigating further.
The tiny lines of text I’d been ignoring are actually a menu, giving you a choice of booting directly into Linux, or into Windows or into rescue versions of Linux. An unlisted option (the C key) jumps you into the grub console, where a collection of utilities allows you to edit the boot procedure.
I was having to peer at the Lilliputian text now because, with the BIOS boot order set to the Ubuntu partition, it had become the main way of booting into Windows. As an alternative, I could still hit the F12 key at boot time to open the machine’s Elective Boot menu. But this seemed fiddly and I began to ponder on ways to make the grub boot loader’s menu more legible.
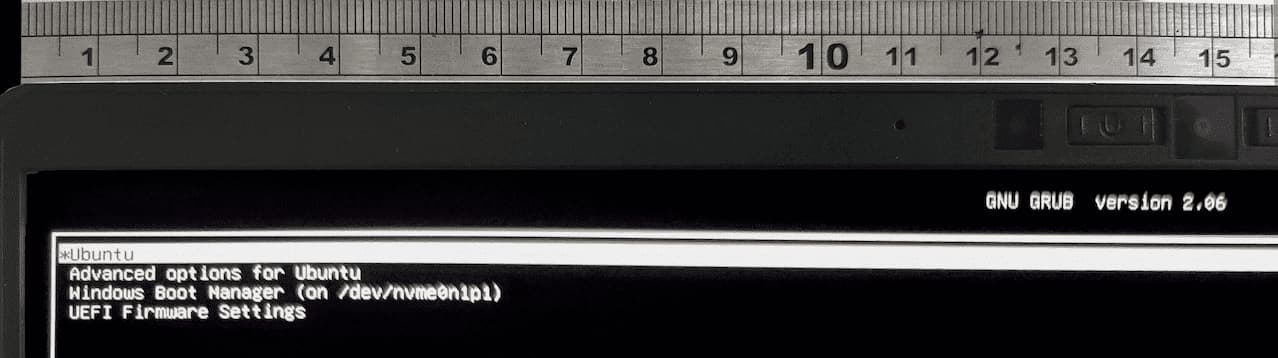
The centimeter steel ruler is here to give you some idea of the tiny size of the default font. The ruler really does attach above the back of the screen like this, thanks to the magnets used to hold down the Framework bezel.
I won’t waste space here chronicling my misguided excursion exploring this (the curious can dig up the details from the Framework forum). But let’s get to the bones of the thing:
grub flashes up on a high resolution graphical screen. It was designed for much lower resolution screens and because of this the font it has to offer is tiny. With the minimum of command line tinkering you can easily fix this. Bear with me while we walk this through. I don’t just want to fire magical command line incantations at you; I’ll try to put you as fully in the picture as I can without us all drowning in the technology.
grub collects its orders from a configuration script called /boot/grub/grub.cfg. You can take a look at this file by opening the Ubuntu terminal (Ctl-Alt-T) and typing cat /boot/grub/grub.cfg. Don’t worry about messing this up, cat in this context is just a not an editor and in any case you’d need special authority to edit any file in these system directories.
If you scroll back to the top of the file you’ll see that it’s headed:
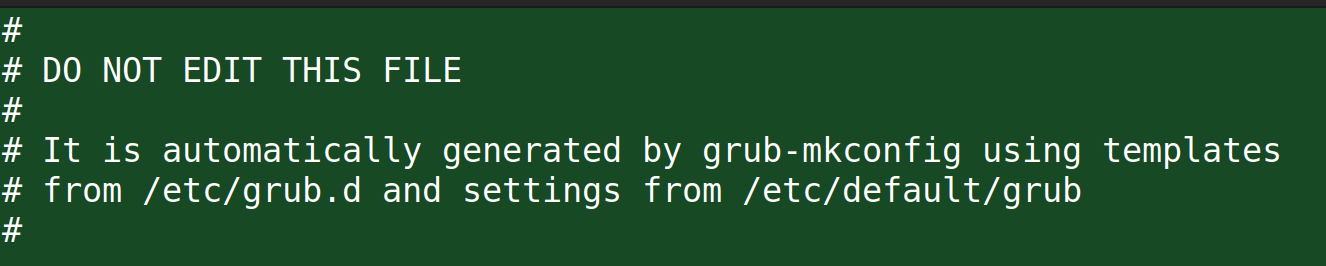
So although this is a configuration file, you don’t configure it directly. grub.cfg is itself configured by editing the other file mentioned here, /etc/default/grub. Let’s take a look at it.
Change into the directory holding this file with:
cd /etc/default and then type less grub.
This last command isn’t a dietary recommendation, it’s another way of showing us the contents of a text file. Giving the command the name less is a typical Unix-style joke. You’ll have discovered with cat that it scrolls the text of long files off the screen. In the late ’70s, Eric Shienbrood, working on Unix at UC Berkeley, realised this needed refinement and created the utility more which pauses after each screen-full until you touch the spacebar in order to get… more.
In the mid-80s, a GNU developer, Mark Nudelman, gave more a complete rewrite. The new version would need a name of its own (because GNU’s Not Unix). The new name played on a popular phrase going the rounds at the time (but in fact first coined by the poet Robert Browning in the middle of the 19th century in his poem Andrea del Sarto): Less is more.
Programmers are very smart people but piecing lines of code together and making the result do something useful can be a slow, tedious business. Jokes help.
Fixing Grub
 That little diversion was to give you a flavour of life on the Linux command line. You can explore further by reading the manual pages for
 more, less and grub using the command man more and so on. When you do, you’ll discover that man works very like less while it serves up the documentation. The spacebar takes you down a page, the B key takes you up a page and the G key takes you back to the top. man also includes less refinements, like the ability to set bookmarks with the M key or to search for text strings with the forward slash key.
But we’re here to fix grub.
We’re going to edit the /etc/default/grub file. But /etc (pronounced “etsy”) is a system directory, so as a regular user you won’t have permission to mess with any of the files in it. All this systems stuff is owned by an entity called root, the “superuser” and as a regular Ubuntu punter you don’t have root‘s password. Ha!
This seems to contradict everything I’ve been saying about making Linux your own operating system. You’re shaking off the shackles of Microsoft and Apple only to find yourself in fief to a shadowy figure called root.
Well, chill.
root is just doing this For Your Own Good™. Until you know more (and less, etc) messing with system files isn’t a recommendation. Once you do know more, the secret of accessing root‘s domain with the correct password . Until then, we have the sudo command.
When you first signed up for Ubuntu you were asked to establish a user name and a password. Once logged onto the system with that password you become a regular citizen within the Ubuntu domain. Ruled over by this mysterious landlord called root who owns everything you don’t own. And you don’t own much.
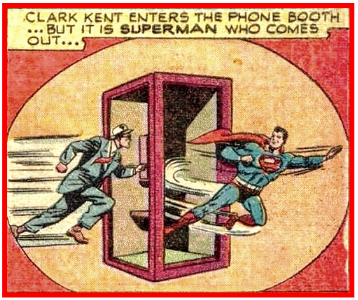 In the movie it might turn out that in Act Two you’d slowly discover you have secret powers. And the Act Three payoff would be the revelation that you and
 root are closely related. In fact, root is your alter ego!
That’s actually a fairly accurate description of the way things are in Ubuntu land. If you want to edit a system file like /etc/default/grub you don’t have to go into a phone booth to change into tights. At the command line, just type:
sudo <command that wouldn't otherwise work>
sudo stands for “superuser do”. It will prompt for a password (your own, not the nebulous password of root) and then turn you into a superuser until the spell wears off. So here we go:
sudo cp /etc/default/grub /etc/default/grub.orig
What we’ve done here is to make a copy (cp) of the file we’re about to mangle. That new grub.orig file won’t get in anybody’s way and will be a useful backup in case we mess up. Now we can do the edit:
sudo nano /etc/default/grub
nano is the simpler of two text editors in the standard Ubuntu distribution. The other is gedit and there are others that can be installed from the Ubuntu Software Store. Let’s stick with nano for now.
The command should have brought up this screen for you:
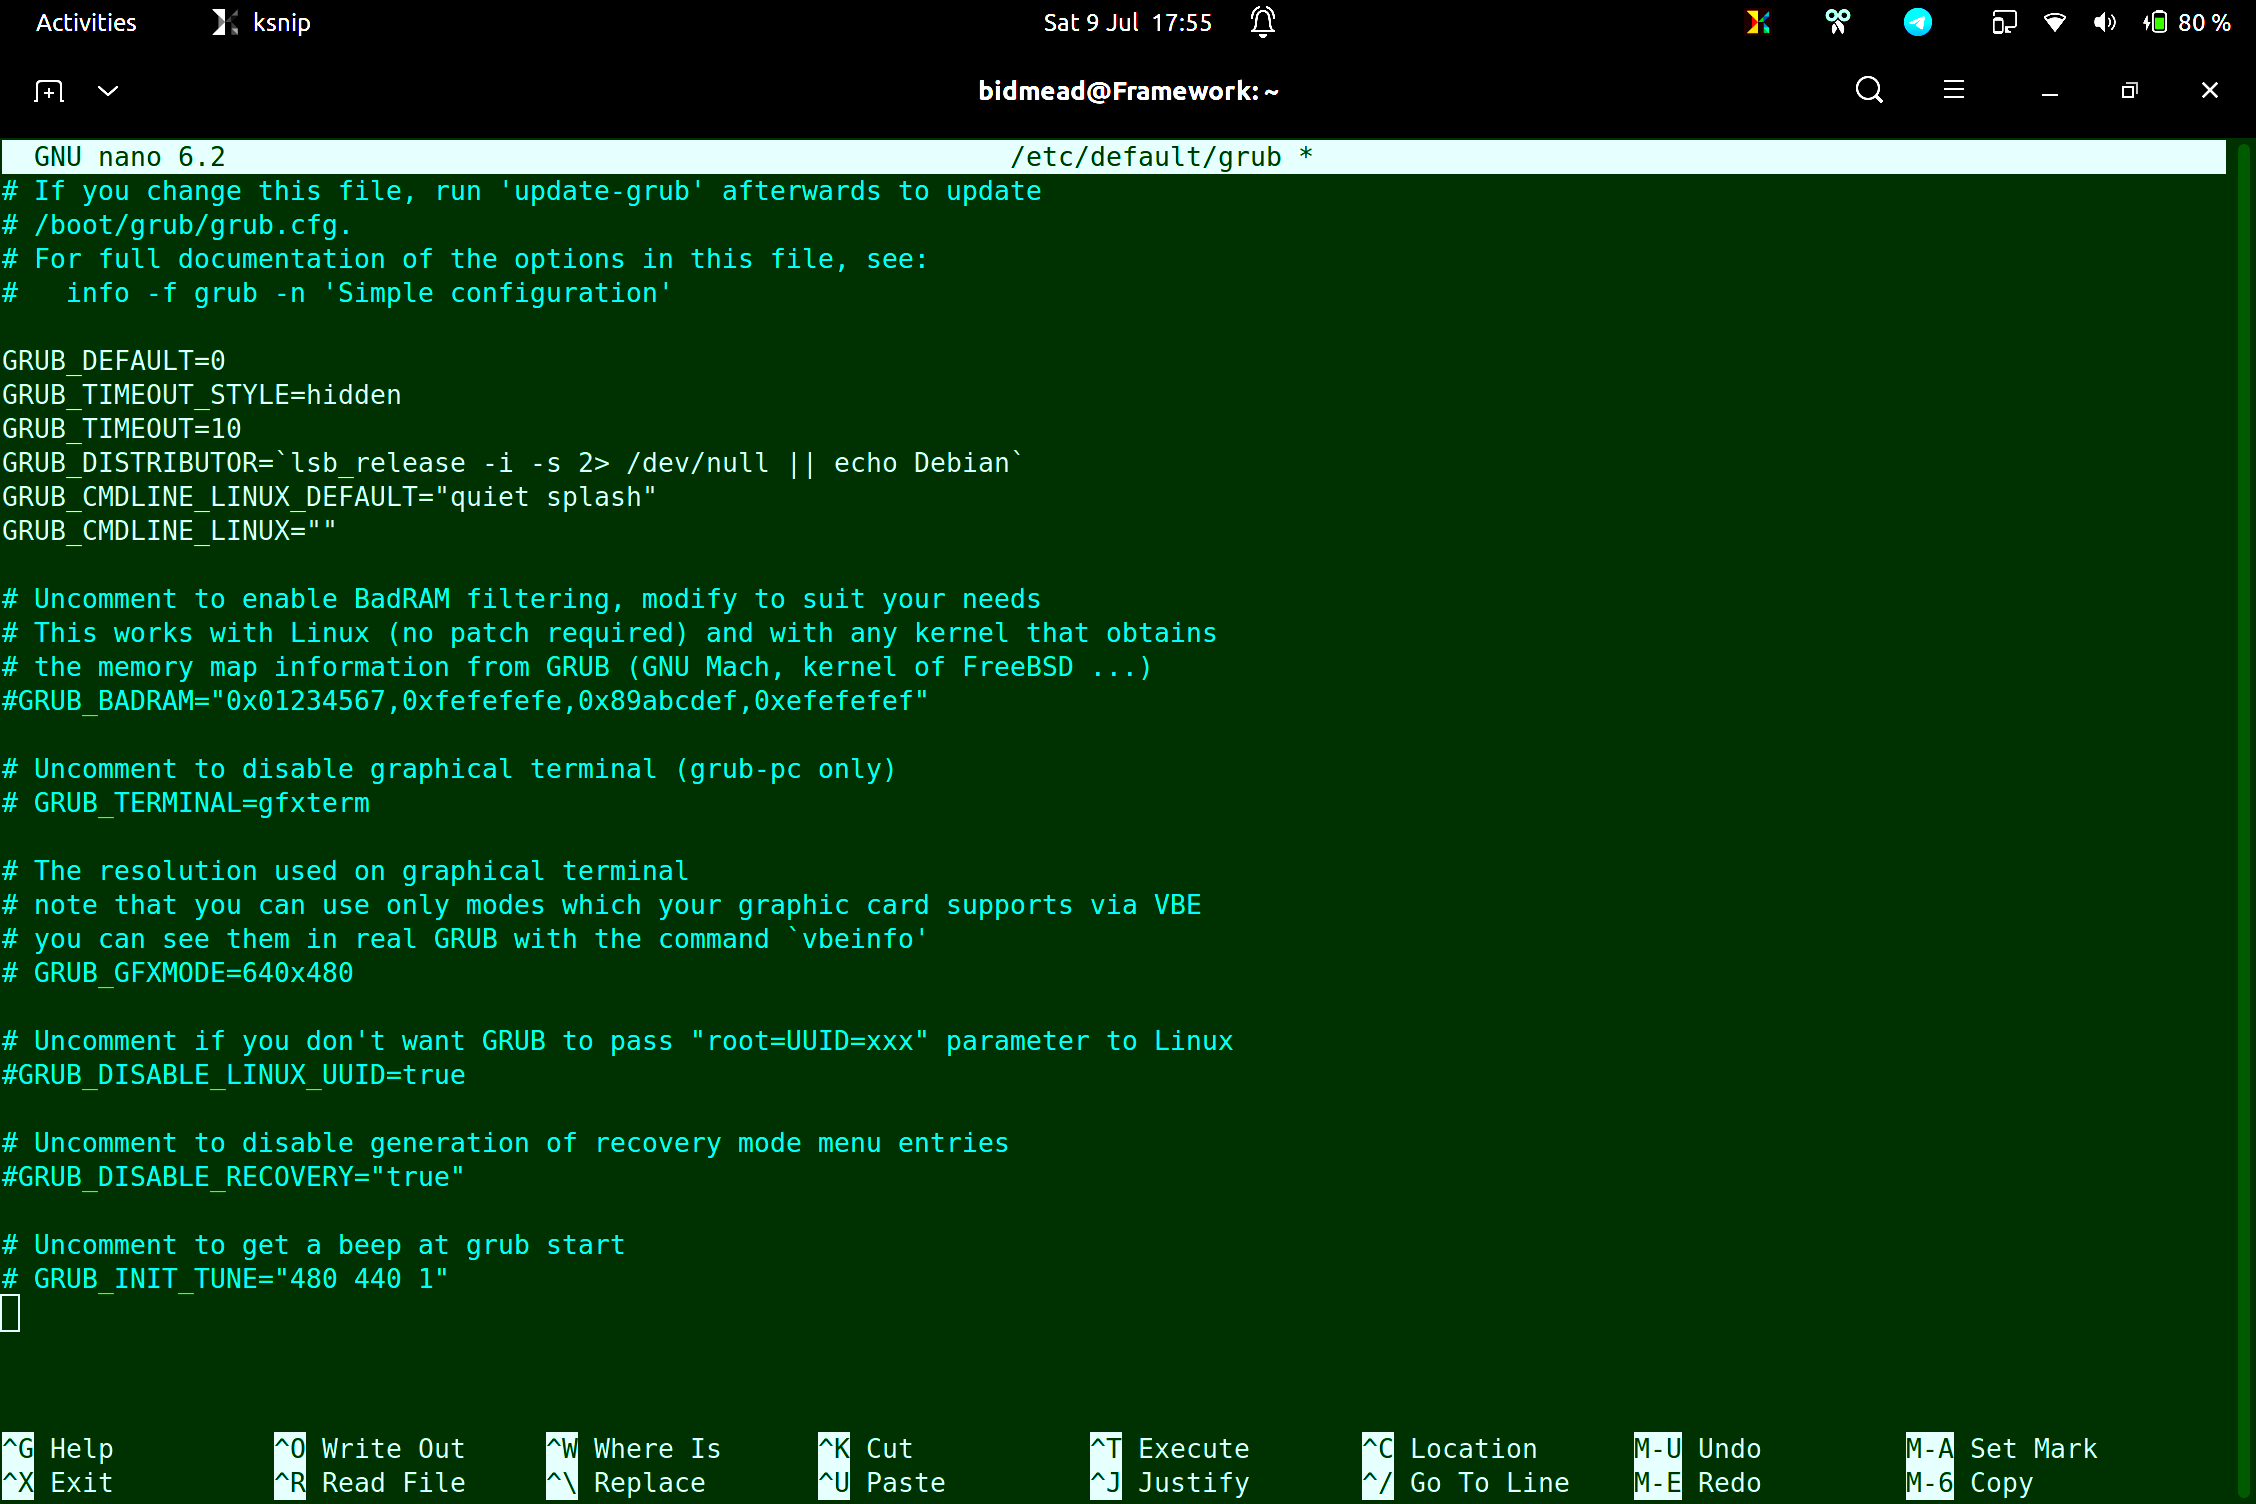
Some of nano‘s basic commands are listed at the bottom of the screen. As indicated, Ctl-G will show you the rest, among them Ctl-S to save the file. But don’t do that yet.
And use only the cursor keys for navigation around the file and the keyboard for editing. The mouse/touchpad is used for configuring nano and also—rather oddly—for copy and paste. But we’ll stick to the keyboard for now.
You’ll notice that most of the lines begin with a hash sign. They’re comments and are only there to be read by you, not by the system. The line we’re going to activate by removing the hash sign is this one:
# GRUB_GFXMODE=640x480
With that line inactive, grub guesses the screen resolution and on modern computer hardware this is very high. If we take the hash sign away, grub will behave as if we have an old 1980s screen and give us a much more reasonable font. I thought a more comfortable resolution would be 800×600. So when I removed the hash sign I changed the parameter:
GRUB_GFXMODE=800x600
And saved the file with Ctl-S. The I followed the instruction at the top of the file to run:
sudo update-grub
Which happily did the trick.
It’s important to understand (I eventually discovered…) that whichever resolution you settle on here is nothing to do with the resolutions you’ll be offered once the operating system is fully booted. That’s because the new graphics drivers required by modern screens arrive later in the boot sequence—and aren’t loaded yet.
grub is designed to boot anything anywhere and confines itself to basic resolutions found natively in the firmware and hardware. You should be OK with 800×600 and you can explore which others are available to grub by hitting the C key once the grub menu shows up. This takes you into the grub console when you can run the command videoinfo to see the resolutions available to grub.
Having sorted that out, we’re now in a position to explore the capabilities of our new dual-boot system in part 10.
Chris Bidmead 03-Oct-22