
In the first part of this series I said something about the general use of network attached storage (NAS) devices and whinged a good deal about the problems of explaining the capabilities of one with as many tricks up its sleeve as the QNAP TS-451. But enough theorising: now it’s time to roll up our sleeves and get stuck in.
 Installation

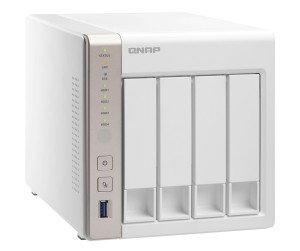
THE TS-451 ARRIVES as a bookshelf-sized white box with (most immediately noticeable) four drive bays at the front and a large fan at the rear. The size of the fan cheered me greatly — too often small machines are equipped with small fans that consequently have to run fast and noisily to shift enough air. Small fans can also be the least reliable component in the mix. I’ve come to distrust them. Big fans get the job done by turning slowly and quietly. You might say I’m a big fan of big fans.
The TS-451 uses an external power brick, something I’m generally not so crazy about. If a power brick gets separated from its companion machine (and I have a lot of laptops, servers, switches and TV set-top gizmos here that need power bricks) it can be a nightmare trying to match them up again, because only rarely are they from the same manufacturer as the device they’re powering.
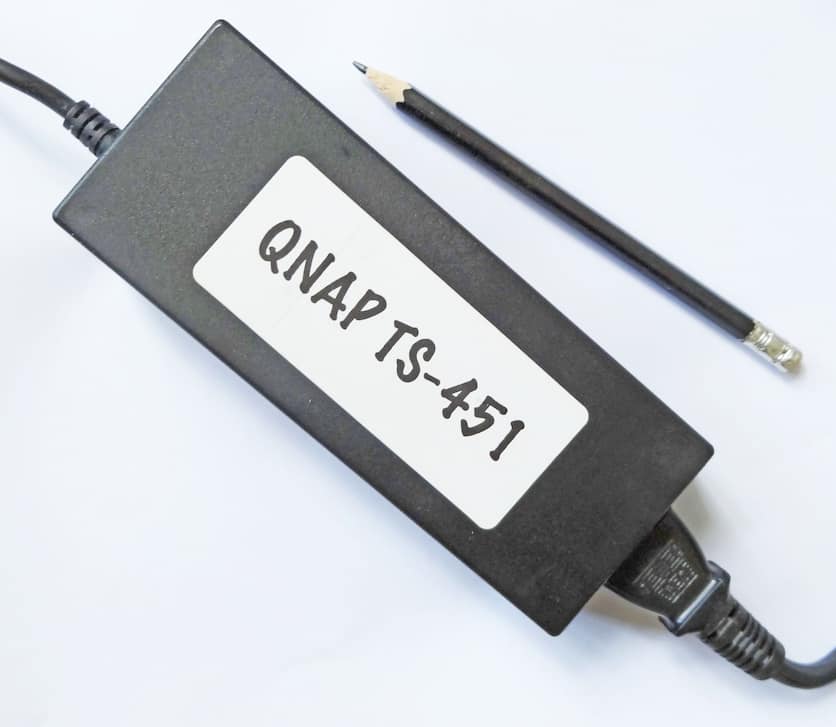 I did once completely fry a valuable Ethernet switch by plugging in the wrong power brick. So the house rule is: any brick-powered device crossing my desk gets its brick immediately labelled with the name of the device. On the plus side, the QNAP’s external (and fairly chunky) power supply does help to keep the form-factor of the main chassis small, while maintaining a healthy distance between the high voltage input and the internal electronics and the drives.
Or in this case, “drive”. I decided to start with a single drive in order to test the basic capabilities of the machine. I also like the idea of a minimum-investment kickoff to a venture capable of vast future expansion.
To be fair, this isn’t as minimal as it might be. The TS-451 I’m testing here arrived with 4GB of RAM, whereas the entry-level box offers a single GB (although in either case the memory can be expanded to 8GB). And the drive certainly isn’t the cheapest you can buy. Yes, you can stick in any old drive you might have knocking around (as long as it’s SATA) but I chose a WD Red because these are specifically designed for the pattern of use associated with NAS drives, and have a great reputation for reliability under a heavy workload.
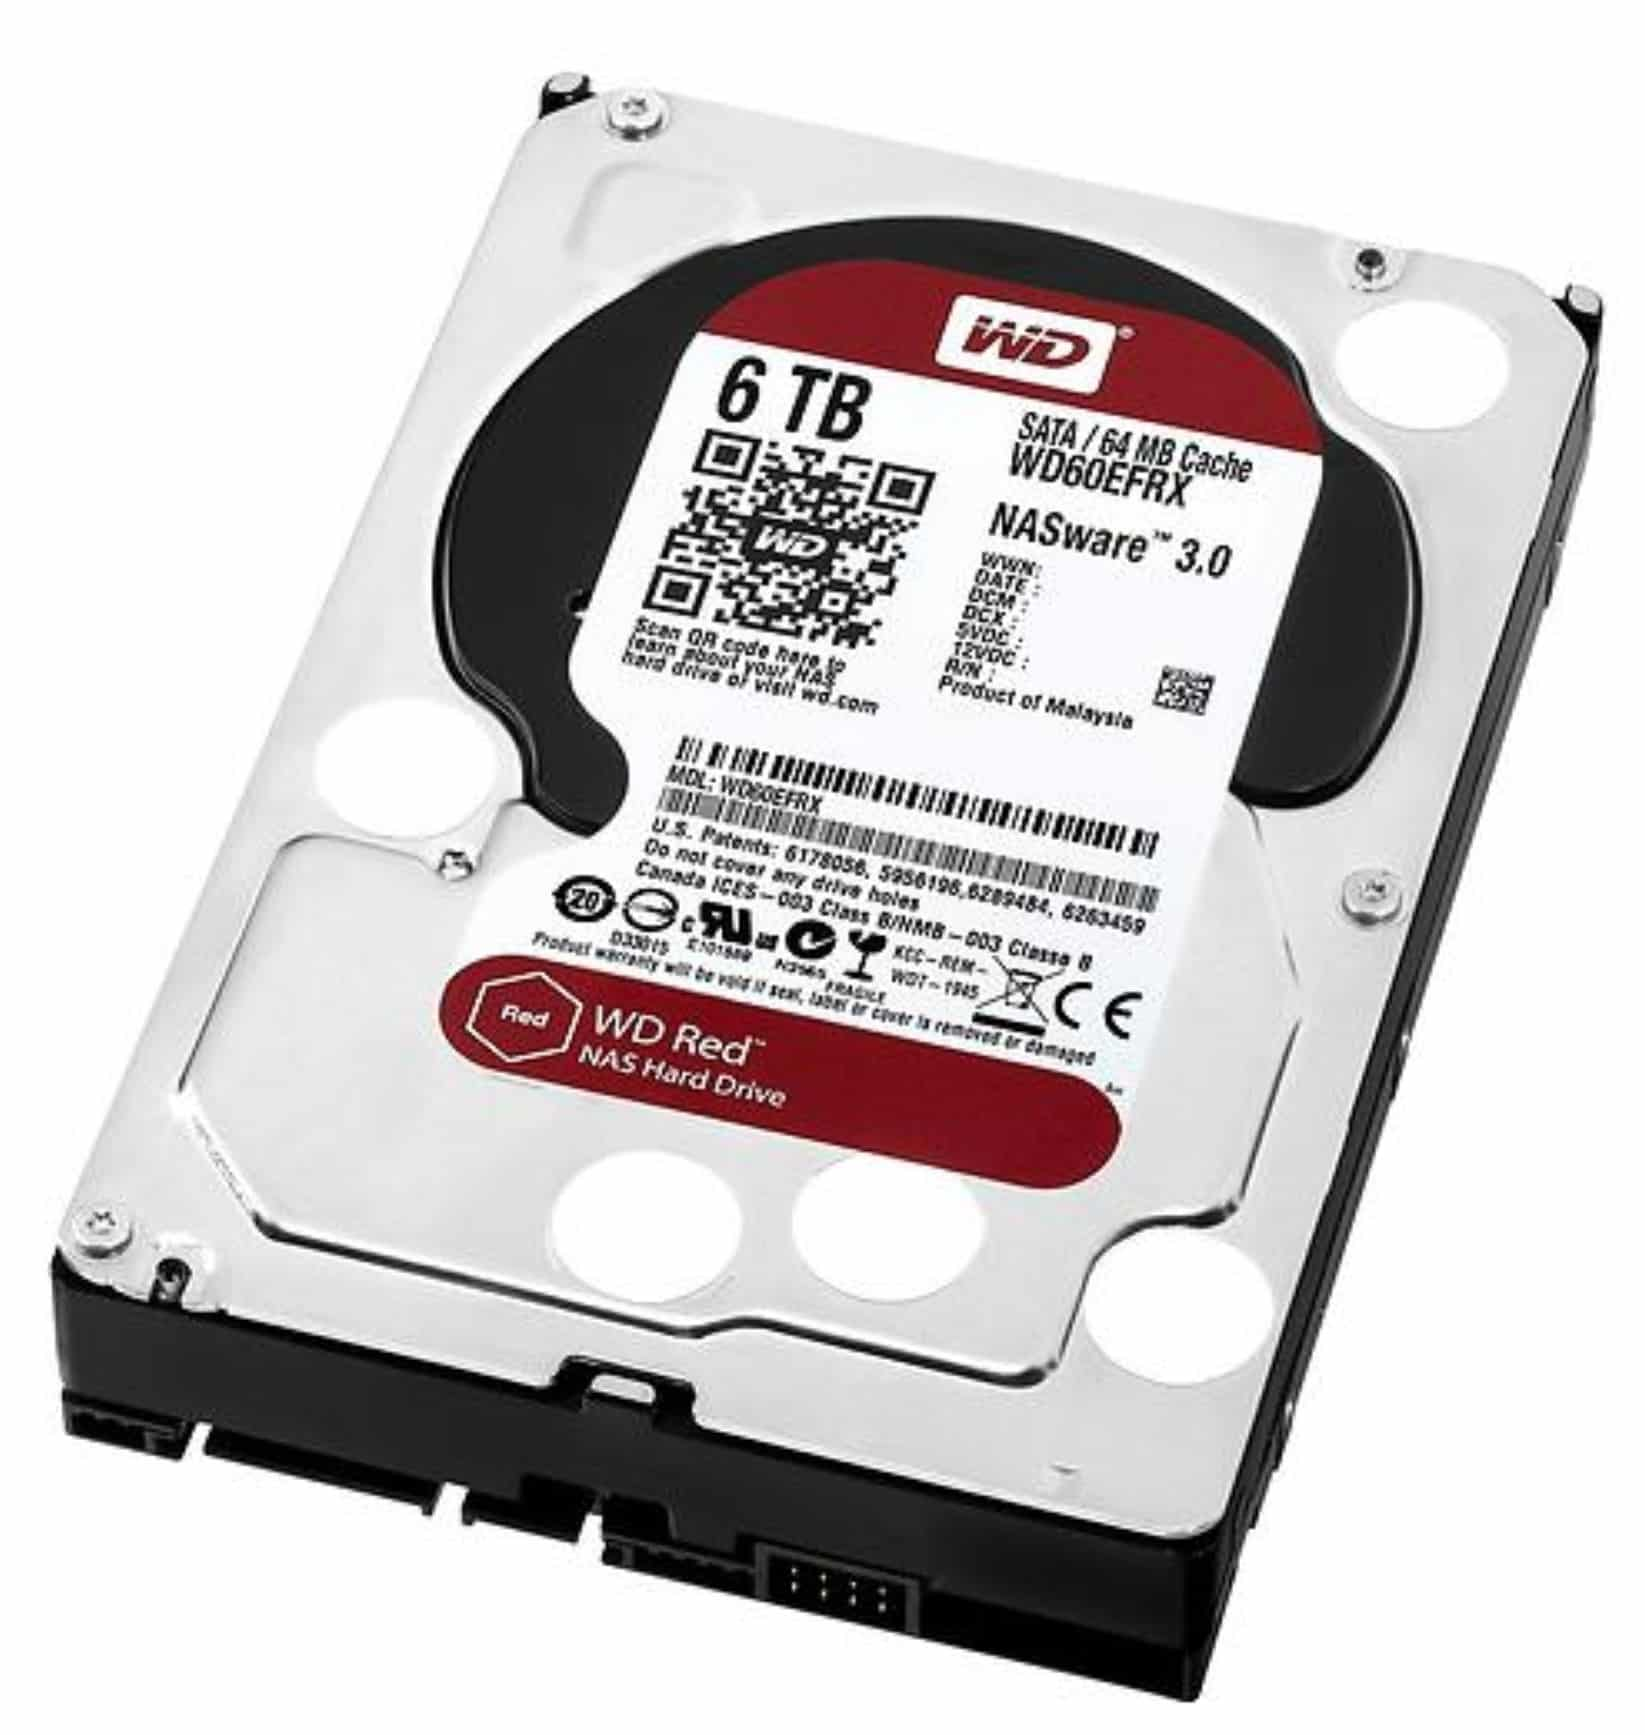
The latest Western Digital 3.5″ 6 TB Red, a workhorse drive specially designed for 24/7 use.
And this isn’t the cheapest of the Reds, either. When I approached Western Digital to ask if they’d like to help out by anti-ing up with an initial 4TB Red they turned down the idea. They had a better one. Instead they wanted me to test their newest 6TB drive. And they sent four of them. Potential total capacity 24TB!
The plastic drive bays of the TS-451 unlatch and slide out completely, making it very easy to install either 3.5″ or 2.5″ drives using the appropriate set of screw holes. The bays themselves may appear somewhat flimsy compared with the aluminium equivalents offered by other manufacturers, but with the drive screwed firmly in place the combination is rock-solid and easily slides back into the chassis, locking home with a confident click that assures you the data and power connections at the rear have been made properly.
The windfall from Western Digital presented something of a challenge to my idea of starting with a single drive. But I still thought it would be a good idea to put myself in the place of a user wanting to explore the capabilities of the device before making a big investment. I knew that a single drive was not going to be as reliable or potentially fast as an array. But modern drives are solid enough, and these WD Reds are particularly respected for their reliability in network servers. And I rather liked the plan of expanding the hardware by adding a new drive with each evolving episode of the story. It was not one of my better ideas, as we shall see.
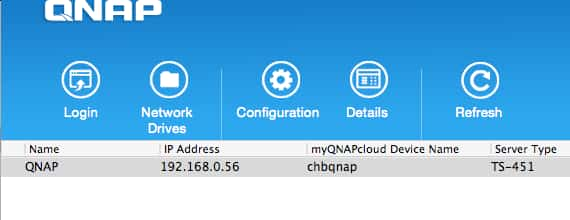
Power up the device and it will automatically format the drive, giving a long beep when it’s done. While this is happening, visit the http://start.qnap.com Website, pick the model of your QNAP device and download the client software, QFinder, for your operating system (Mac OS X in my case) that will automatically find the QNAP server on the LAN.
QFinder’s Configuration button guides you to changing the server name to something more friendly than the assigned code name, and more importantly encourages you to change the password from the default. For some reason the password’s limited to 16 characters — not something security experts encourage.
At this point you might want to set up one or more users. Essentially this is Unix, where the system administrator allocates various access privileges to the different people and services tapping into the NAS. But you don’t need to know that. The QNAP control panel has all this and more laid out in a self-explanatory menu system flagged with icons. It’s still complex, yes, But you won’t get lost in it thanks to QNAP’s very handy search system. For example, when I was trying to find out how to set up shares — folders on the NAS drive system that would be made available across the network — I simply typed “shares” into the search box and was taken directly to the relevant section of the Control Panel.
As we discussed last time, these shares are the backbone of a NAS system. Once created, I can make them appear alongside local drives in my MacBook Air’s Finder by adding a line like “afp://user:password@192.168.0.56” in the Finder’s “Connect to Server” dialogue box. Or I can just hit that Network Drives button in the QFinder app and get the shares added automatically.
The QNAP will automatically have picked up your local Time Zone and date and time from the LAN, something normally provided through the NTP (Network Time Protocol) server on your Internet router, your Internet Service Provider’s (ISP) own NTP server or some other NTP server out on the Internet. There’s also an NTP server in the TS-451 which you could use instead to feed your LAN with time data. This doesn’t have to sync with your ISP — the lower section in the screenshot lets you choose your own Internet NTP, or accept the default of pool.ntp.org.
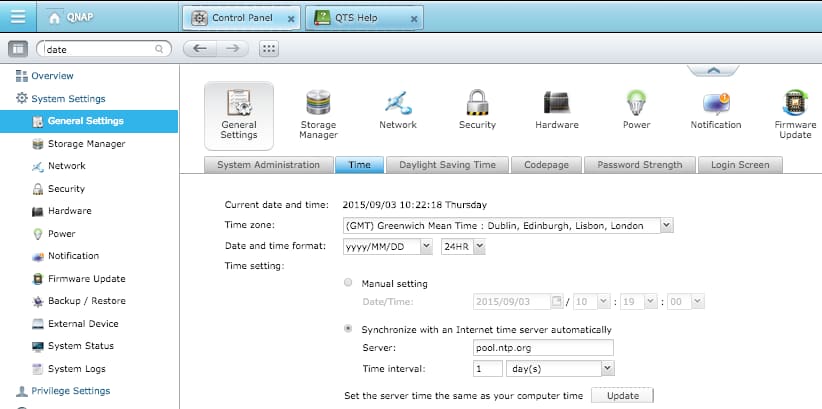
A partial screenshot of the Web interface page where you can set up your own choice of where the QNAP gets its time information.
I decided to leave all the time settings on their defaults, and in any case there was other work to be done, because the next time I logged on through the Web interface an alert told me that a firmware update was available. “Firmware” in this case means the QTS operating system (the initials stand for QNAP TurboNAS System), and these updates to the operating system were something I was going to have to get used to. The folks at QNAP seem to be restlessly persistent in their progress towards NAS Nirvana. (QNAP, in case you’re wondering, is Quality Network Appliance Provider, and they’re clearly pretty serious about it.)
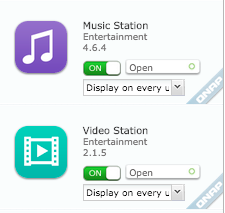
I hit the button on the browser to install the update. The firmware was downloaded, automatically installed and the server restarted. When I logged in again I was treated to more alerts; updates were available for three of the standard apps: Download Station, Music Station and Video Station. Over the course of my first few weeks with the QNAP NAS there would turn out to be frequent updates to the various apps, something I’ve always taken as a good sign that the ecosystem is alive and healthy. Particularly if, as with this NAS, the updates are properly notified through alerts and automated to install smoothly once you’ve approved them.
Of course, no sooner had I written the preceding paragraph than I hit my first update snag. An alert appeared on the QNAP Control Panel in the usual way, informing me that there was an update to the CodexPack that runs inside the HybridDesk Station app. (This app is an ingenious special environment inside which you run other apps that output directly to the QNAP’s own HDMI socket.) But multiple attempts to apply the update resulted in an “Update Failed” message.
The comprehensive logging system came to my rescue with the news that this new version of the CodexPack was only compatible with version 4.1.2 of the QTS operating system. My rig was running QTS 4.1.1.
So the question was, why was there no alert about the availability of the operating system update to 4.1.2? Or, if the QTS update was available (as it turned out to be, on the QNAP Web site) but only perhaps in a not-quite-ready-to-roll-out form (as it might well have been, as there were two close-dated different versions in the stack) why was I being offered the incompatible CodexPack update?

Problems of this order are par for the course for most of the operating systems we use, and I suppose it’s a compliment to QNAP that in its unusually well-ordered environment this minor incident stood out like a sore thumb. The fix was easy: download the QTS 4.1.2 update zip file and manually apply it using the easy-to-find “Install Manually” button on the App Center Web interface. After the reboot, updating the CodexPack ran without a hitch.
The multimedia stuff the HybridDesk Station app and the CodexPack does is something we’ll come to later. Before that we need to investigate the basics of QTS and its essential utilities. And I’ll have more to say about those four Western Digital Red drives, and why starting by installing just one of them didn’t turn out to be such a great idea.
Chris Bidmead